컨텐츠 내용을 수정할 수 있습니다
This strategy involves first establishing the prerequisites and safety sequence of a procedure, and then for anatomical or device images, confirming orientation, side, landmarks, and exclusion zones before selecting the most specific area.
Core Sequence: Order: Define the goal → Prerequisites → Contamination/Safety flow → Execution → Re-evaluation / Hotspot: Confirm orientation → Identify structures → Landmarks → Exclude risky structures → Final location.
For the procedural and anatomical topics from the local PDF, only the recurring themes of the format were confirmed; the actual images, answer locations, sequences, and layouts were not reproduced.
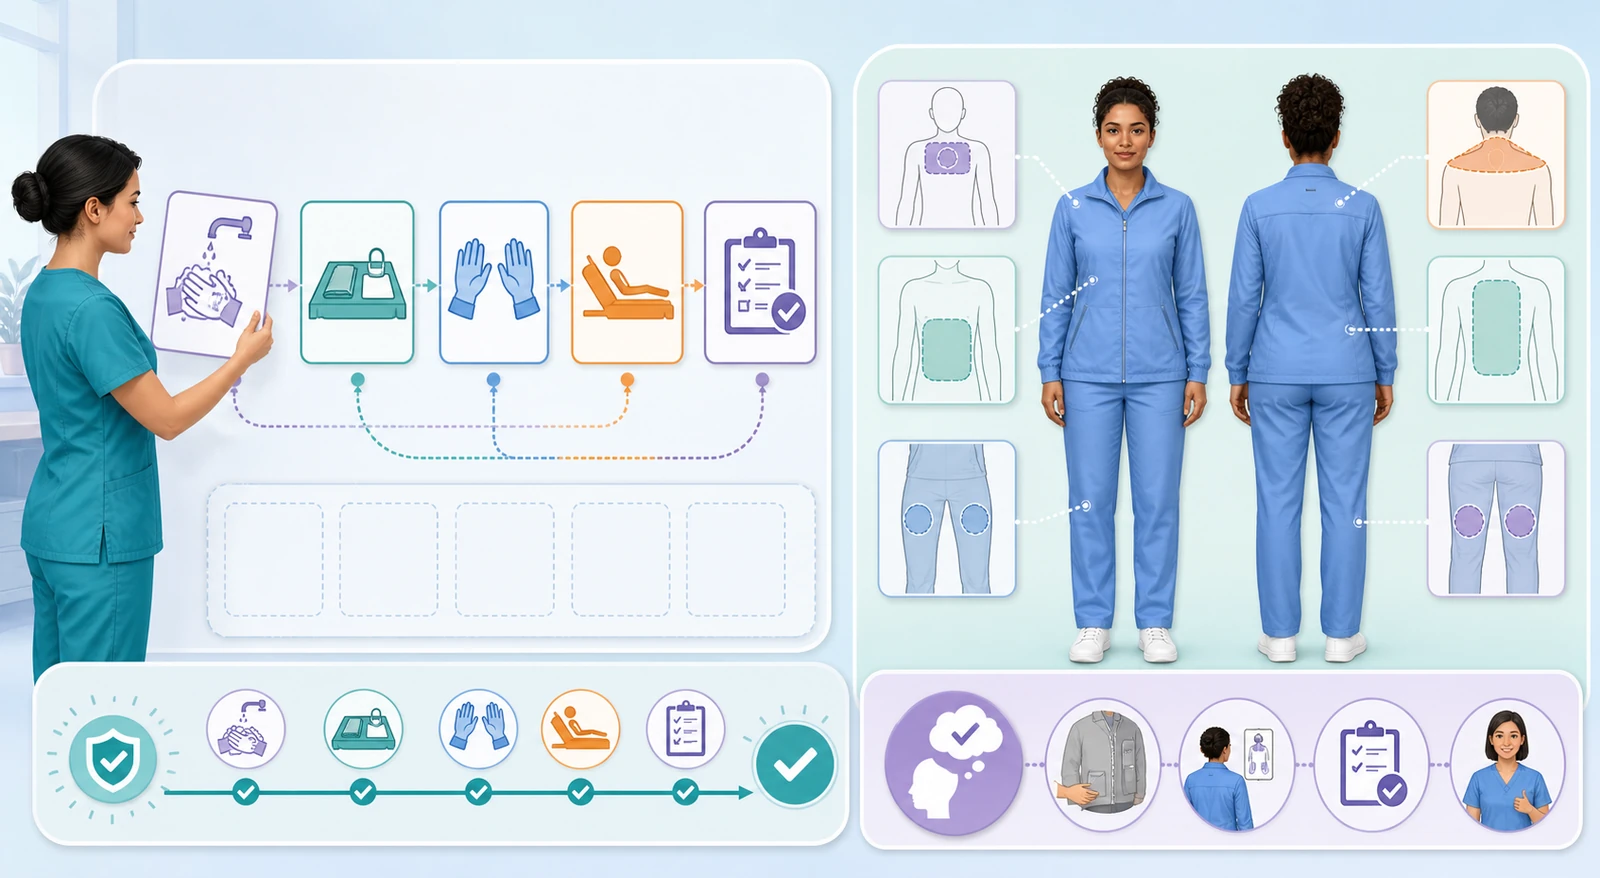
Frame the safety goal the procedure must achieve in one sentence—like infection prevention, patient identification, medication safety, airway management, or specimen accuracy. Separate out any steps that are unrelated to this goal from your sequence candidates.
| Prerequisite | Action It Enables |
|---|---|
| Patient identification, allergy & prescription verification | Medication preparation & administration |
| ABC assessment & scene safety evaluation | Detailed history taking & education |
| Hand hygiene & supply preparation | Opening sterile field & aseptic technique |
| Verification of specimen label information | Collection, bedside labeling & transport |
Identify the patient, purpose, contraindications, baseline data, consent, and the order.
Hand hygiene, equipment, positioning, privacy, and a pain management plan.
Work from clean to dirty, maintaining aseptic boundaries.
Disposal, securing devices, restoring equipment, and hand hygiene.
Patient response, effectiveness, complications, understanding of education, and reporting results.
| Situation | Priority Flow |
|---|---|
| Unresponsive & no normal breathing | Call for help, activate the emergency response system, and start high-quality CPR per facility protocol |
| Suspected airway obstruction | Directly assess the airway and breathing, and provide immediate, appropriate intervention |
| Active bleeding | Apply direct pressure, call for emergency support, and assess circulation simultaneously |
If a question asks for a sequence, focus on steps that have a real before-and-after relationship. For actions that can occur in parallel, like applying oxygen and calling for help, prioritize based on the given resources and environment—for instance, whether you have to leave the patient's side or can call out for assistance.
| Relationship | How to Confirm |
|---|---|
| Superior/Inferior | Compare to fixed landmarks like bones, joints, ribs, and the umbilicus |
| Medial/Lateral | Check in relation to the midline and the axis of the limb |
| Anterior/Posterior | Re-confirm the patient's position and the image's orientation |
| Structures to avoid | Identify areas to miss: nerves, blood vessels, bony prominences, organs, and damaged skin |
Find the surface point that matches the action in the question—like an injection site, auscultation location, pad/electrode placement, or dressing area. Instead of clicking on an entire organ or a broad quadrant, choose the clearest landmark-centered point within the allowed selection area.
The route through which medications, gases, or nutrition enter the patient.
The pathway for drainage, air, or body fluids to exit — keep the direction of gravity in mind.
The actual patient contact point where measurements are generated.
Clamps, valves, filters, and access ports — whichever one the question is asking about.
Don't just focus on "this spot looks right." Take a moment to rule out the opposite side, bony prominences, broken skin, catheter or incision sites, and any areas that could be misleading because of clothing or equipment. If there's a left-right illusion, correct it using the orientation markers before you zoom in.
Establish the sequence of events: patient identification, explanation, and pain assessment; hand hygiene and gathering supplies; removing the old dressing and assessing the wound; hand hygiene again and setting up a sterile field; cleansing and covering the wound using the prescribed method; then disposal, securing the dressing, noting the patient's response, and documentation. The specific steps will always depend on your facility's policy and the type of wound.
다음 이론을 계속 학습하려면 로그인하세요.
로그인하고 계속 학습필기노트, 하이라이터, 메모는 잘 쓰고 있어?
내보내줘운영진이 검토할게요!
마이페이지에서 차단한 회원을 관리할 수 있어요.